NOTICE
Due to Covid, we are currently unable to offer bin cages as some materials have become temporarily unavailable.
Due to Covid, we are currently unable to offer bin cages as some materials have become temporarily unavailable.
66 qtPrice: $40
Dimensions: 24"x16"x14" Permanent Housing: No. Hospital, Quarantine, Maternity, Travel Recommended Mischief Size: NA |
|

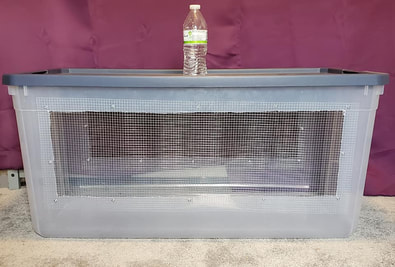
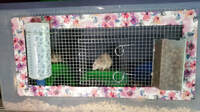
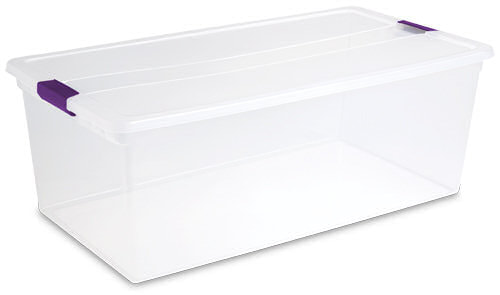
110 qtPrice: $50
Dimensions: 34.5"x18.5"x12.5" Permanent Housing: Yes Recommended Mischief Size: 2 |
200 qtPrice: $60
Dimensions: 39.75"x21.5"x17.5" Permanent Housing: Yes Recommended Mischief Size: 4 |
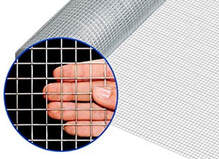
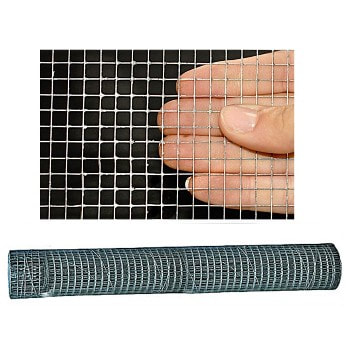
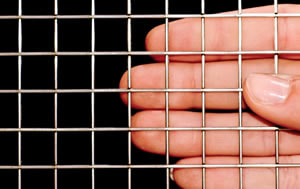
1/2" Hardware Cloth - $5
(Extra charge is to cover cost of washers) |
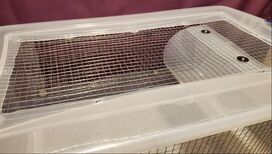
Top Windows:
65-110qt - $5 200qt - $10 |
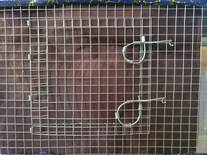
Door - $5
*Requires 1/2" hardware cloth front window |
Duct Tape Border - $5
Your choice of pattern* Remaining tape is yours! *if pattern is not in stock, a second choice will be required |
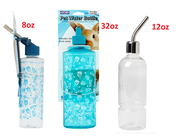
Water Bottle:
8oz plastic - $3 32oz plastic - $4 12oz glass - $8 |
Food Hopper - $3
*requires 1/2" hardware cloth window |
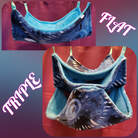
Hammocks:
Flat - $10 (suitable for smaller bin cages) Double - $15 (suitable for 200qt bin cages) Triple (shown) - $20 (for large cages) |
|
YOU WILL NEED:
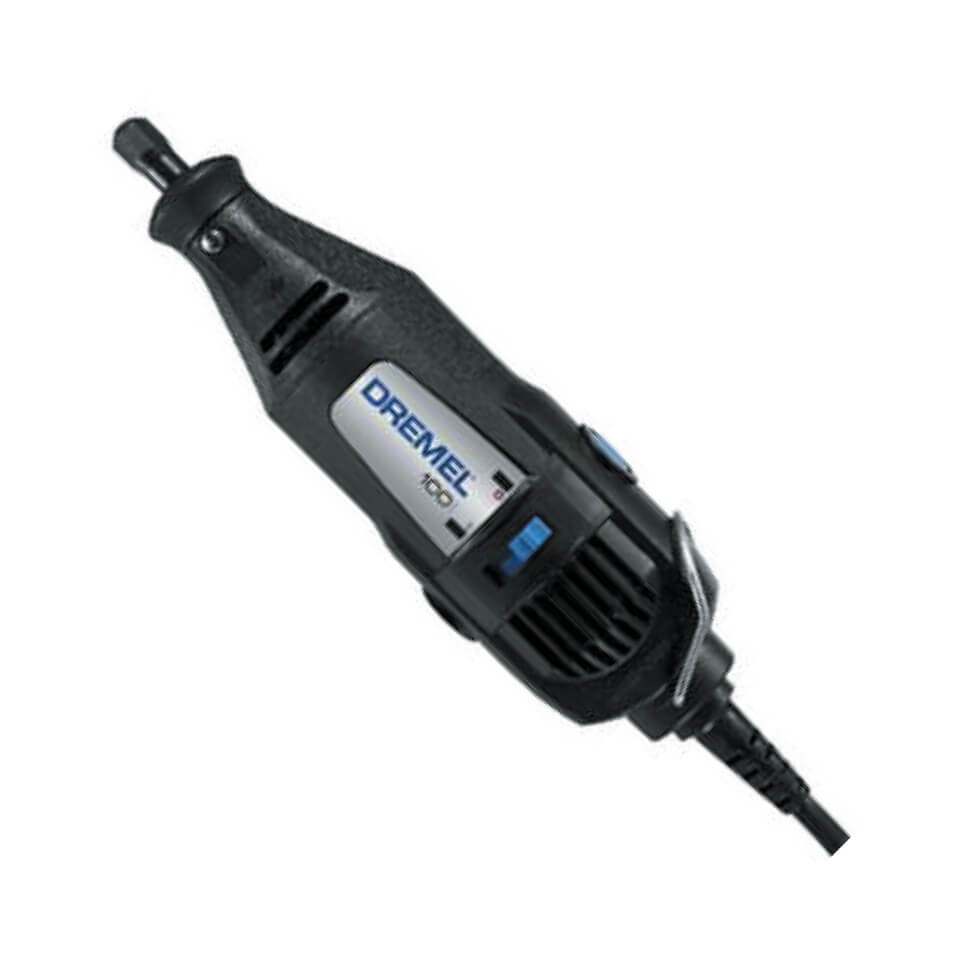
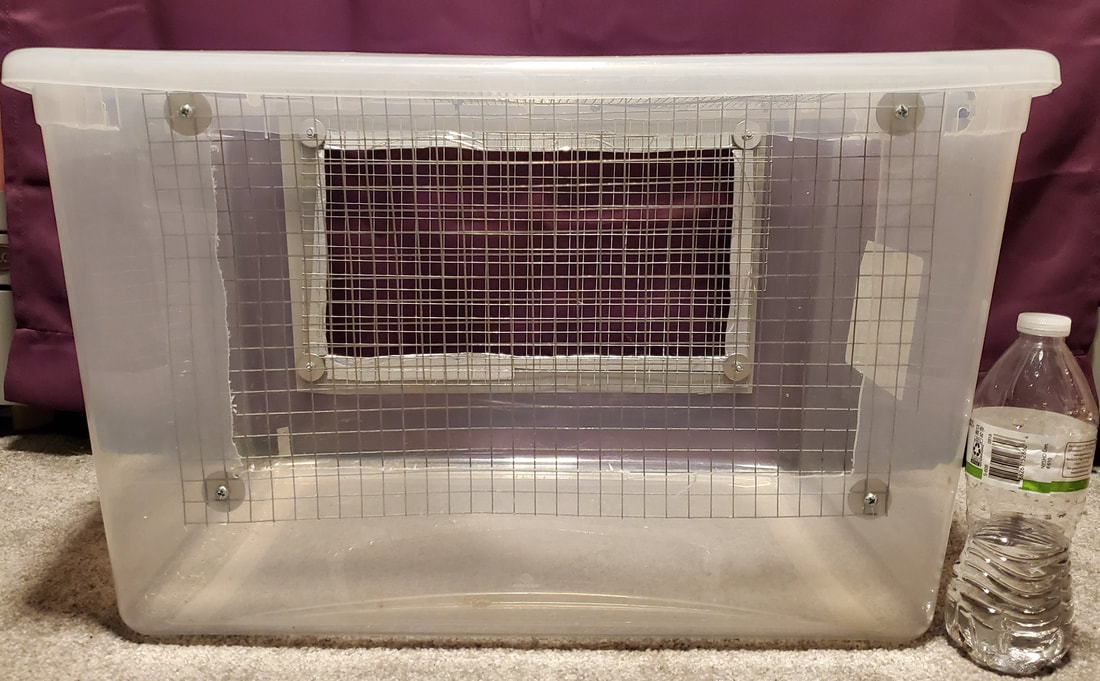
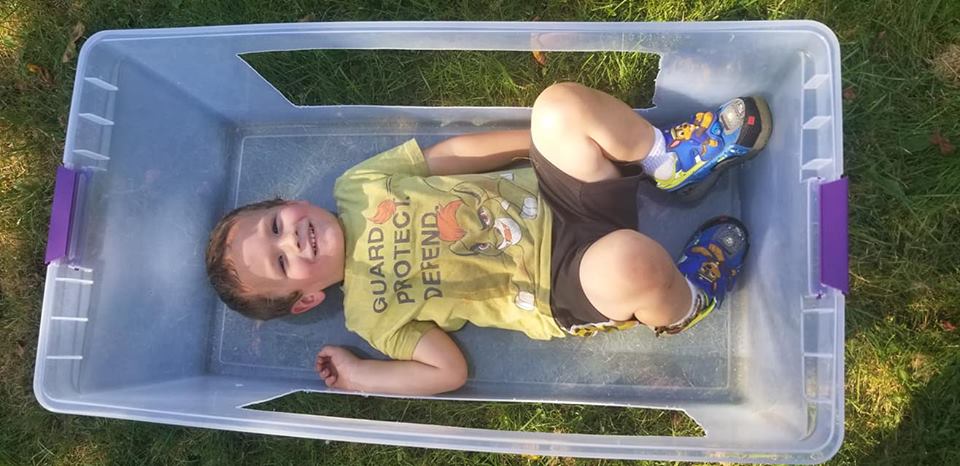
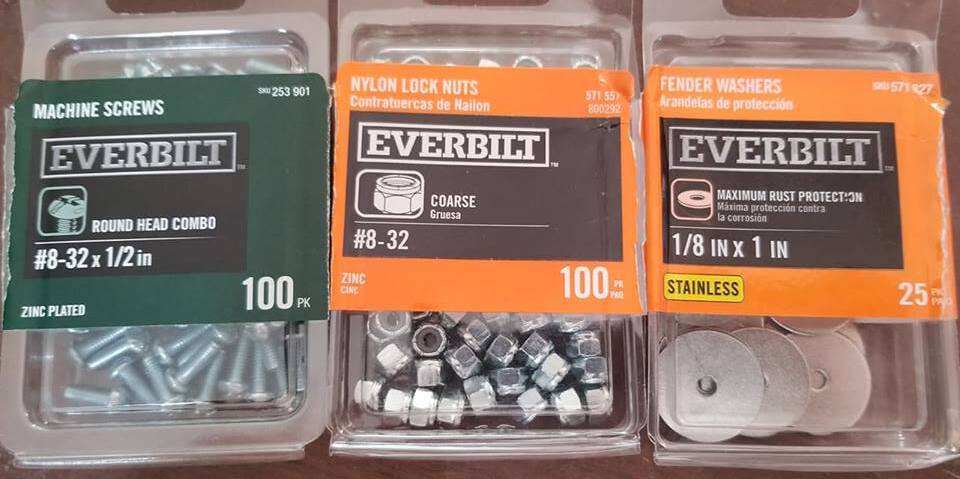
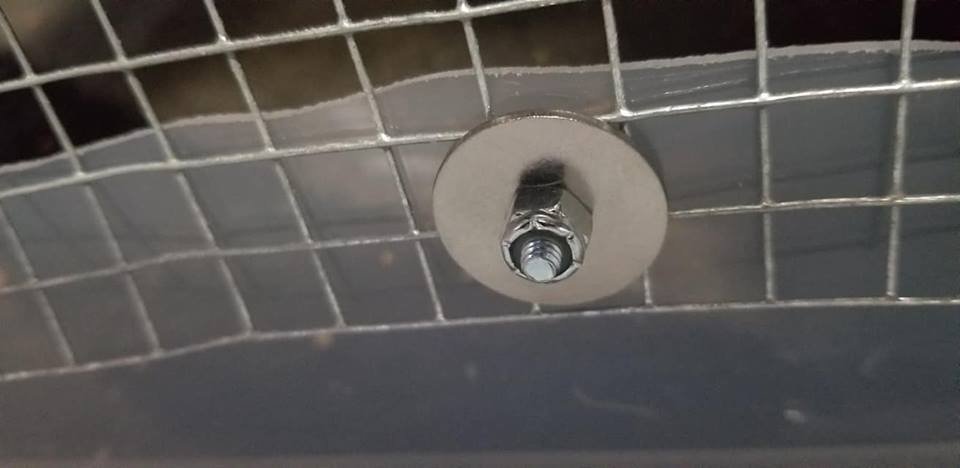
THE BIN Minimum Permanent Housing: 110 quart / 27.5 gallon bin. This bin can be found at Target or Big Lots, or ordered online. This is the minimum size bin and will hold a pair of adult rats. HARDWARE CLOTH Found at Home Depot or other farm store. This is a metal screen type material that will serve as ventilation window. You can get either 1/4" or 1/2" hardware cloth. 1/2" will allow for easy waterbottle attachment. If using 1/4" you will need to cut out a + in the wire to allow an opening for the water bottle nozzle. TOOL TO CUT PLASTIC I prefer a dremel and plastic cutting bit. It cuts efficiently, quickly and without cracking the plastic. If you already have a dremel, you can find the plastic cutting bit at most hardware stores for $5. Nuts and Bolts (and Washers if using 1/2" hardware cloth) I recommend using nuts and bolts to attach hardware cloth as zip ties are easier to chew and escape is more likely. Look for #8 bolts that are 1/2" long. When looking for the nuts, simply match up the #8. If you choose to use 1/4" hardware cloth, you will not need washers as the size of the nut is larger than the 1/4" squares in the hardware cloth. If you choose to use 1/2" hardware cloth, you will need washers to hold it in place. look for 1" outer diameter with an 1/8" inner hole. These will fit the #8 bolts. PUTTING IT ALL TOGETHER Draw out your windows using a sharpie. 4" up from the bottom will help keep bedding in. Make the windows as large as you can while leaving at least 2" from the side and the top to allow room for overlap of the hardware cloth. Do this for the 2 long sides or 1 long side (front) and the lid (or all 3 sides if you wish) for proper airflow. Using the cutting tool of your choice, cut the windows out from the bin. Once that is done, cut your hardware cloth slightly larger than your window. It should overlap by at least an inch on each side. This prevents the rats from being able to chew the plastic. If they can get hold of it, they will chew it. So make sure there is overlap. Drill small holes (only large enough for the zip ties) along the sides. I did one for each corner, 6 along the long side and 3 on the tall side. Attach the hardware cloth on the inside of the windows using the zip ties. Again, this is important, if it is on the outside of the bin, the rats will be able to chew the plastic and they will escape. Make sure the hardware cloth is flush to the plastic. If you need to drill more holes and add more zip ties, than do so. OPTIONAL You can add a "hopper" to the side if you wish. Note that these only work with 1/2" hardware cloth, not 1/4" as the holes are not large enough for a rat to get food out. These are especially good if you know you have a hoarder among your colony. Hoarders, as funny as it may seem, do waste quite a bit of food over time as it gets buried and often urinated on, making it inedible. With a hopper, the rat must work harder for its food which cuts down on hoarding as they typically will only take what they will eat at that time. Hoppers also make it easy for the owner to keep an eye on food level, and allow for easy filling. We use kitchen drawer organizers from the dollar tree for our hoppers. Simply cut off one small side and position that upwards as shown below. Drill holes and zip tie to the hardware cloth. Thats it. You can attach a water bottle to the side just like in a cage as well as add hammocks, baskets, hides as well as toys and chews. Although bin cages are suitable, I will always recommend and encourage larger. |
|